MJX is definitely one of the hottest drone brands at the moment. Their hard work is getting noticed by the masses, that’s for sure! After a massive success with MJX Bugs 2W, they’ve now announced several brand new models that are hitting the market soon enough.
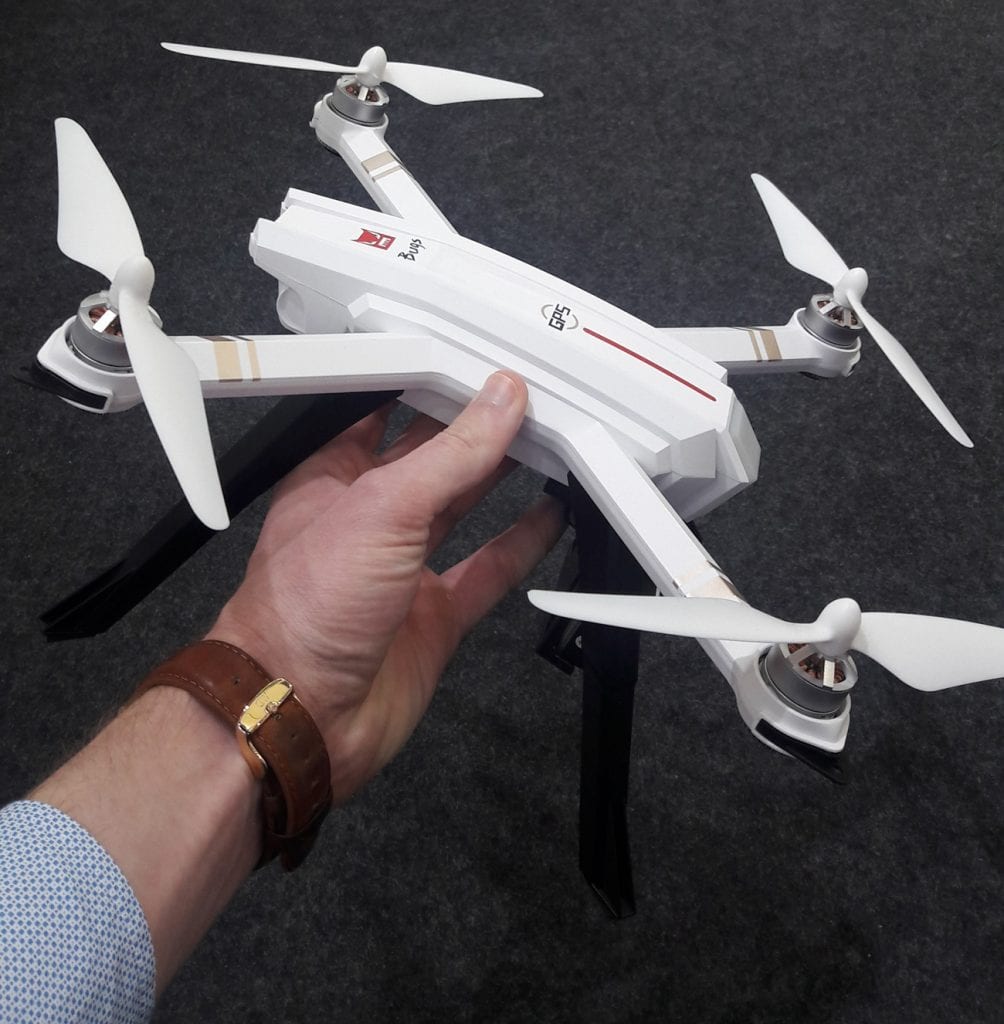
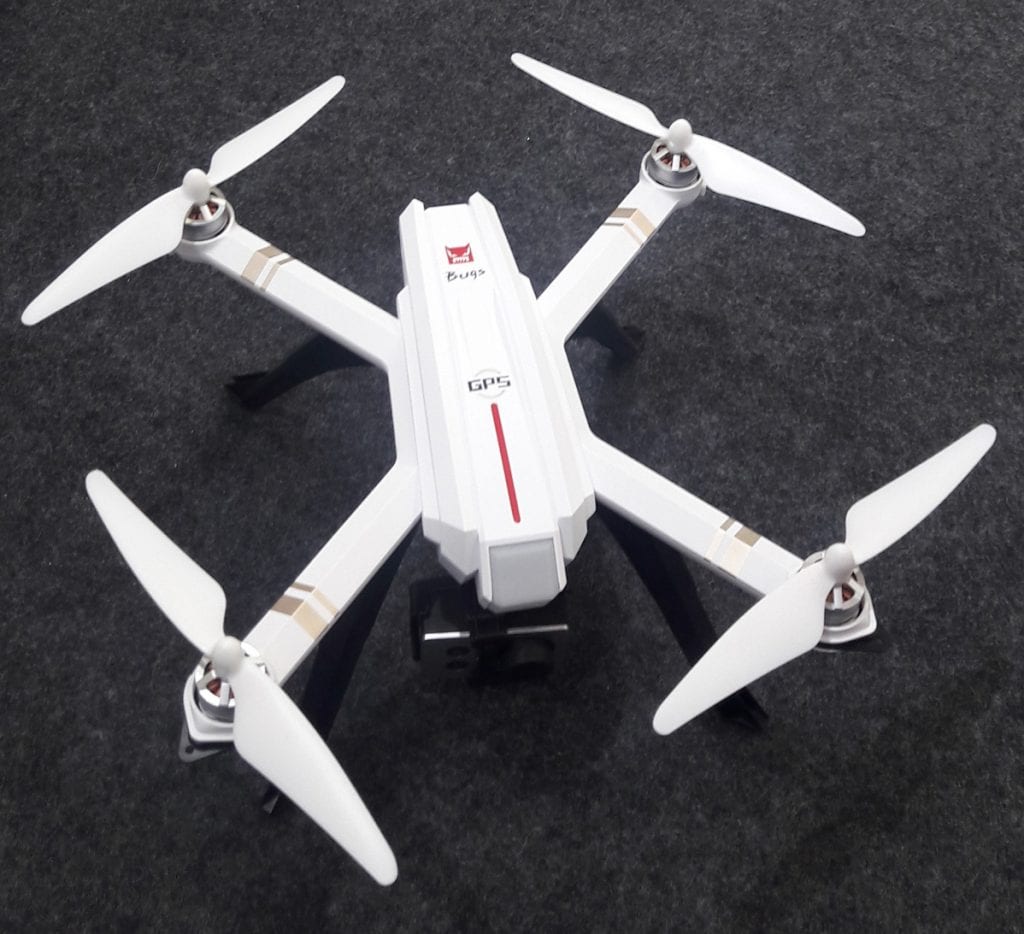
With MJX Bugs 3 Mini already looking like a huge hit, my focus is slowly turning to a proper Bugs 3 successor. It goes by the name MJX Bugs 3 Pro and one thing is certain – it looks EPIC!
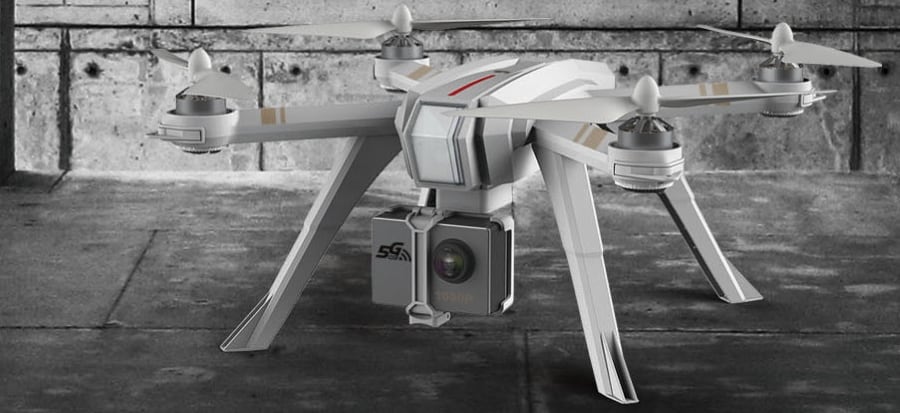
MJX Bugs 3 Pro Review
But, with major Bugs 3 price drops, is it worth investing in the Pro version? In other words, are the changes well worth the extra money? Well, I don’t want to spoil too much right off the bat… so I’ll just say that its looks aren’t the only aspect I like about it!
MJX Bugs 3 Pro review : Quick Specs
- Flight time: 22 minutes
- Flight range: 600-800m
- Camera: specialized action camera mount
- Sensors: barometer, accelerometer, 6-axis gyro, GPS/GLONASS, battery voltage sensor
- Special features: altitude hold, 3 types of return to home, headless mode
- Size:
- Weight:
- Battery: 2,800mAh 2S LiPo
- Charge Time: cca 240 minutes
- Transmitter: dedicated physical transmitter
GPS Provides Optimal flight performance and safety
If we take MJX Bugs 3 as the base reference, there is no doubt Bugs 3 Pro sports more than a fair share of upgrades. For starters, the standard version is not a smart drone by any means. It doesn’t have GPS, any form of autonomous features or even altitude hold for that matter.
On the other hand, MJX Bugs 3 Pro does not only sport altitude hold but GPS as well. This ensures optimal flight performance and safety, allowing you to have a peace of mind while trying to take awesome aerial videos. Flight stability is really impressive, even during windy weather… which is surprising to see from a mid-tier drone.
Additionally, MJX Bugs 3 Pro also sports autonomous flight in the form of RTH (return to home) feature. More precisely, there are 3 types of RTH embedded into this birdie:
– Smart Return To Home
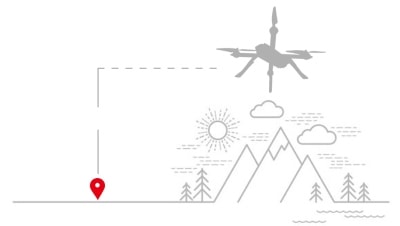
You can still control your drone while it’s coming back to you in order to avoid any potential obstacles that might come in its way. If you change your mind, you can always press RTH button again and the drone will exit RTH mode.
– Failsafe Return To Home
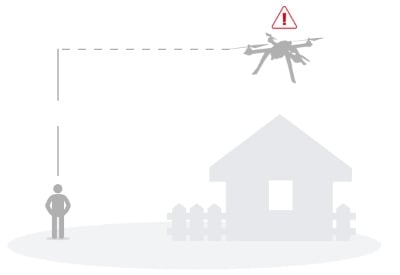
Of course, it needs to have a sufficient number of satellite connections (7) in order to do so. Once the connection between the transmitter and drone’s receiver is back up and running, you can press the RTH button to take full control over your drone.
– Low voltage Return To Home
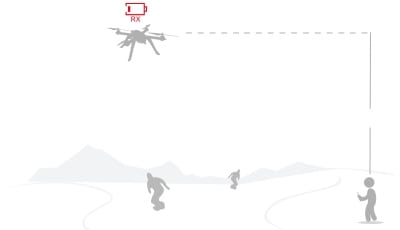
You can also see this on your transmitter’s display via RxBat icon. Another way of recognizing low battery voltage is flashing red LED’s on your drone which will alarm you to land manually before low voltage RTH kicks in.
Powerful brushless motors and intelligent braking system
Back in late 2016, MJX announced their Bugs series of drones will be mighty beasts equipped with powerful brushless motors and extremely aggressive price tags. And they haven’t disappointed us at all.
Take the original Bugs 3 as the perfect example – even though it was primarily meant as an entry-level aerial photography drone, it was surprisingly fast for such a bulky model.
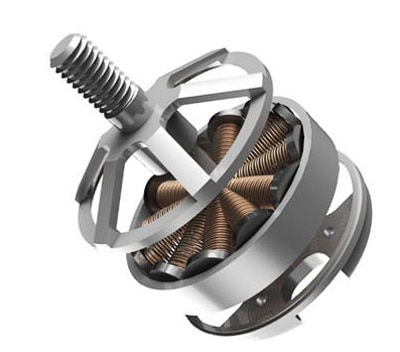
MJX Bugs 3 Pro takes things to a completely new level though. With new and improved brushless motors, this birdie is bound to have a proper punch.
More precisely, we are talking about MT2204 1500Kv motors with great efficiency and lightweight design for their form factor. With up to 230g of upward lift, there’s no doubt MJX Bugs 3 Pro will be able to bring a sport camera for a spin.
As for the supporting technology, MJX has implemented their unique motor braking system that’s mounted on each of the 4 independent ESCs. This system ensures flight safety as well as motor protection, making it a valuable asset to MJX Bugs 3 Pro review.
In addition to all this, B3P also has altitude hold. Yes, the throttle stick is spring loaded meaning it will stay in the middle as opposed to non-altitude hold devices. If you want to lower your drone’s altitude simply hold the throttle stick down. If you want up, hold it up; otherwise, your drone will stay at a constant height. This is good for recording aerial videos as it allows you to fully focus on the task at hand instead of having to manually control the drone.
Impressive battery for a mid-tier drone
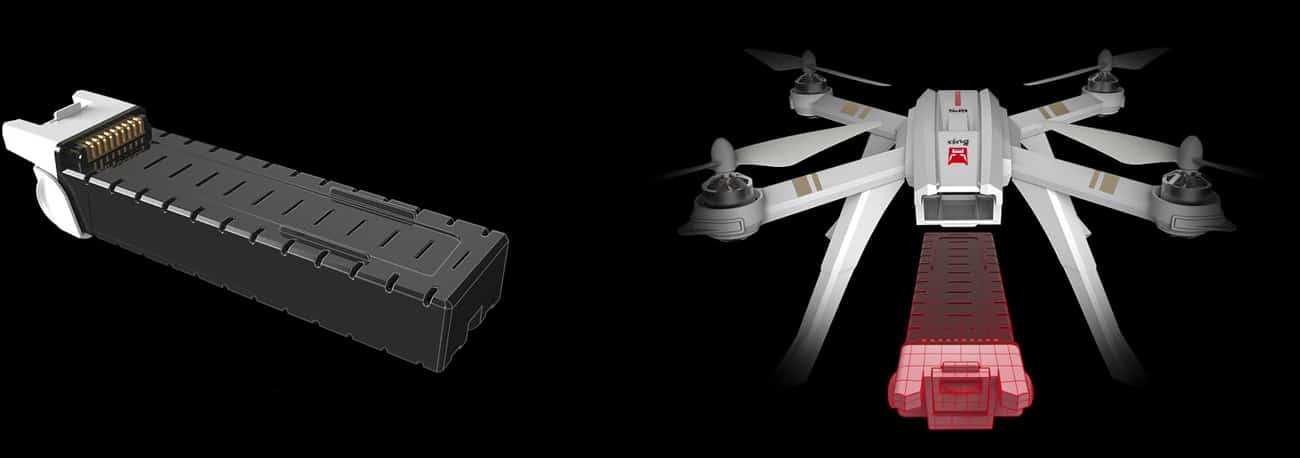
We are used to seeing 2S batteries at this price point, but they usually either have low capacity or solid-at-best C rating. When it comes to MJX Bugs 3 Pro, I’m sure most of you will be surprised by its 2,800Mah 2S LiPo battery. It does have a proprietary plug which is something lots of you won’t appreciate, but that was expected knowing their other models sporting similarly designed batteries.
But how long can this monstrosity keep B3 Pro in the air? Supposedly, you can expect around 22 minutes of flight time even with an action camera mounted below it.
Redesigned transmitter – smart low voltage buzzer ensuring flight reliability
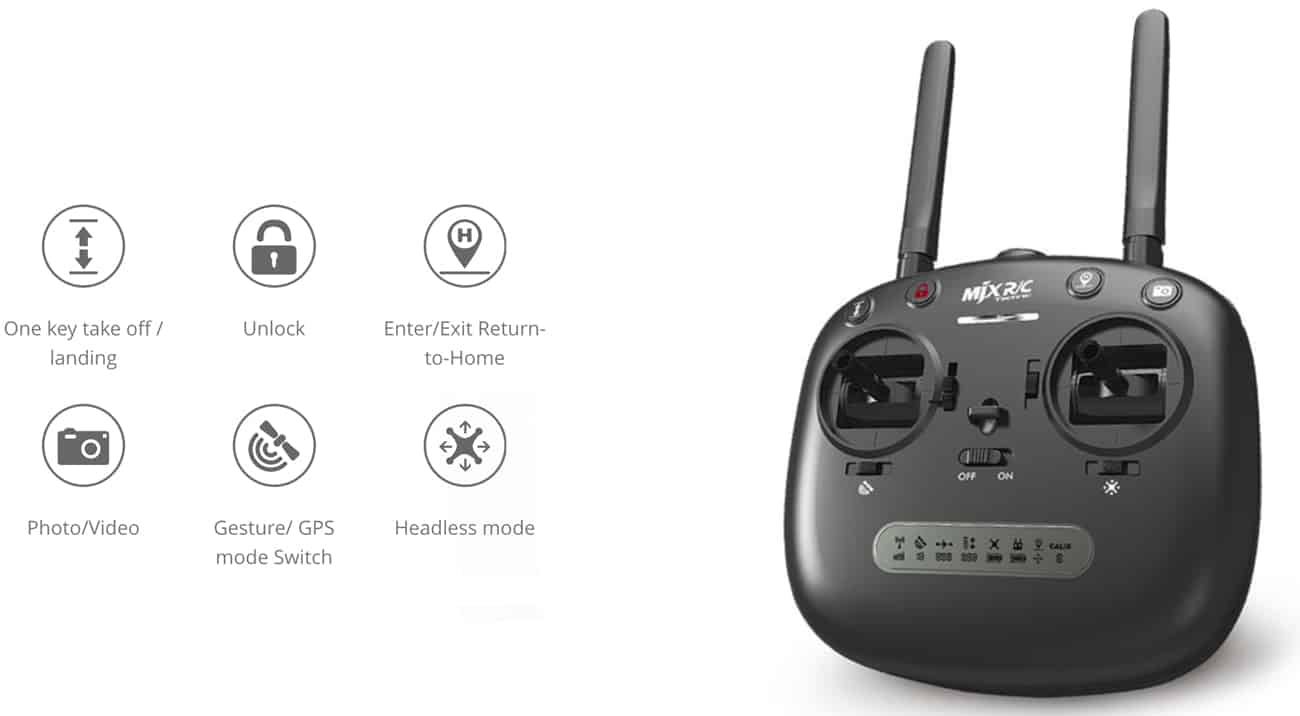
The controller has received a slight modification. They’ve included 2 separate foldable antennas this time around which adds to the overall design. The button layout has remained roughly the same with shoulder buttons being moved to the front side of the transmitter.
The biggest change is definitely the display which has been completely redesigned. Instead of going with a boxy design they’ve gone ahead with a toolbar sporting all the features and telemetry available. And last but not least, the smart low voltage buzzer is here as well, ensuring flight reliability just like with the popular Bugs 2W.
Automatic takeoff/landing
While the drone is stationary and placed on the ground, you can use this key to automatically takeoff from the current position. If the drone is already in the air, pressing this button will make it gently land on the ground below.
Automatic takeoff/landing button is located on the upper left side of the controller, right next to the red unlock button.
Unlock
Unlock button has only one purpose and that is to arm (AKA unlock) the motors. After the initial compass calibration, you will first have to press this button in order to start up the motors. After that, you can either use the automatic takeoff/landing button or perform a manual takeoff.
RTH
RTH Button is located on the upper right portion of the transmitter, above the right analog stick. By pressing this button you are issuing an RTH command to your drone which will then start moving back towards it takeoff location.
By pressing this button again you can turn RTH mode off and regain control over your drone.
GPS
Beneath the left analog stick, you will find a switch for turning GPS connectivity on or off. When turned off, your drone will rely solely on its barometer readings and won’t be that precise stability-wise. However, it will be slightly faster and consume less battery power.
On the other hand, when GPS is turned on you can expect pinpoint stability as well as RTH accuracy. It will, however, use more battery and make your drone’s flight a bit slower.
Headless
Beneath the right analog stick, you will find a switch for turning headless mode on or off. If it’s turned on, your drone will respond to your commands as seen from your perspective without taking into consideration the drone’s orientation.
This feature is common on the market and it greatly improves beginners’ chances of not wrecking a drone during the first few minutes flying it.
On/Off
In the middle of your transmitter, you will find the on/off button. Well, technically it is not a button but a classic on/off switch we are seeing on virtually every transmitter out there.
Transmitter Icons 101
Below the image you can find brief explanations on what each icon means, sorted from left to right
- RSSI – transmitter/receiver signal reception
- GPS – The number of obtained GPS satellite connections
- Distance – The distance between the transmitter and drone expressed in meters.
- Altitude – The altitude between the takeoff and current drone’s position.
- RxBat – Current drone battery level
- TxBat – Current transmitter battery level
- Headless – Headless mode on/off
- RTH – RHT mode on/off
- Calibration – Nofitying whether or not the compass calibration is ongoing
Aerial photography solutions – specialized action camera mounting mechanism
During our MJX Bugs 3 Pro review, we found out that just like the original B3, B3 Pro sports a dedicated mount for action cameras. Besides GoPro HERO series, this mount works for other action camera brands including Xiaomi Xiaoyi models. If you want a more native experience, you can always go for MJX C5000 or C6000 cameras which feature full support for the MJX Bugs Go app.
Simplified propeller mounting
MJX Bugs 3 Pro has basically the same propeller mounting mechanism just like Bugs 2W. It features thick and high-angled 7.4-inch 2 bladed propellers that can provide that extra bit of speed and maneuverability. Just like on Bugs 2W, there are markings on the props which state whether it’s clockwise or counter-clockwise (A or B with unlocking icon in the corresponding direction). It doesn’t get simpler than that, no doubt about it!
MJX Bugs 3 Pro – Wrapping Things Up…
With a really aggressive price tag and excellent hardware inside, there is no doubt MJX Bugs 3 Pro will be a huge hit. It is incredibly stable and thanks to the specialized action camera mount you can record brilliant aerial videos. Of course, there’s the obvious lack of a proper physical gimbal but that’s not that big of a deal considering this price point… and the stability of the drone itself.
If we take everything into consideration, we have to agree on one thing – MJX Bugs 3 Pro is a definite improvement over the standard version. Thanks to GPS, independent ESCs and altitude hold, there’s nothing stopping MJX Bugs 3 Pro from becoming the best entry level aerial photography drone… Although, it would be taking the crown from its predecessor.
The post [Review] MJX Bugs 3 Pro – Hottest Affordable Drone in Early 2018 appeared first on DronesGlobe.com.




No comments:
Post a Comment